
The drywall sheets are hung and all that’s left to do is finish it; but where do you start? There are so many ways to finish drywall that it can be overwhelming. Let's explore one of the possibilities together!
WHAT YOU’LL NEED
Tools:

- Screwdriver
- Drywall hammer
- Utility knife
- Snips
- Mixer
- Gallon bucket
- Taping knife
- Corner trowel
- Mud pan
- Pole sander
- Corner sanding sponge

Materials:
- Joint compound (See previous article to find out what kind and how much you need.)
- Paper or fibreglass tape
- Medium grit abrasive
- Fine grit abrasive

PPE:
Now that you have the tools, materials, and PPE you'll need, let’s put them to work!
HOW TO

1. Check fasteners
- Run a small taping knife across the fasteners to make sure they’re embedded properly to prevent them from showing through or making a bump.
- Use a screwdriver or a drywall hammer if necessary to embed the fasteners so that they’re just lower than the drywall sheet.
- Cut any lifted pieces of drywall paper off with a utility knife to stop them from peeling or sticking up through the paint.

2. Embed tape
- Mix your joint compound of choice in a bucket with a mixer and put some compound into your mud pan.
- To apply tape to the joints, either:
- fill in the joints in with compound and apply paper tape to the whole length of the joint using a taping knife. Be sure to centre the tape over the joint. Drag your taping knife from the middle of the joint to the ends of the tape with enough pressed so that a little bit of compound pushes out towards the edges. Cover the tape in a layer of joint compound to secure it in place.
- Or, directly apply fibreglass tape to the joint by pressing your taping knife into it since fibreglass tape is self-adhesive.
- Then apply a layer of quick setting-type joint compound over the tape to secure it in place.

3. Inside corners
- Fold your tape in the middle and apply it in the centre over the joint. Again, using compound underneath for paper tape only.
- Apply a layer of joint compound over the tape to secure it in place.
- A corner trowel will make getting right into the corner much easier
- Another option to finish inside corners is to use a corner bead that already has paper attached to its edges. The bead can be cut using snips and once coated with compound you’ll have a perfect inner corner!

4. Outside corners
- Apply compound to outside corners with a knife - no need to tape here.
5. Sand
- Once the compound has changed colour from a darker grey to white, it’s time to sand.
- Put on your dust mask and safety glasses as drywall dust can irritate your lungs and eyes.
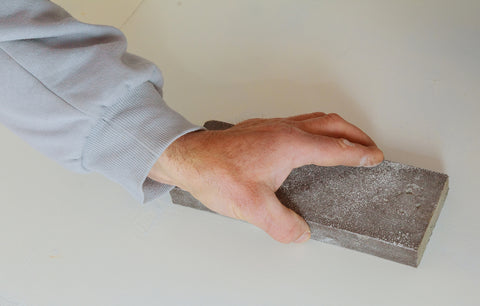
- Lightly sand any ridges and bumps down with a medium grit abrasive. Take care not to press too hard and scratch the paper. Use a pole sander for hard to reach areas and a sanding sponge for corners.

6. Additional coats
- Apply a second and third coat, sanding with a finer grit abrasive after each coat. Aim to feather out the compound to the edges with each pass to get a seamless transition between joints and the rest of the wall. Using a larger knife as you get through the coats can help with this.
- Remember to go over the nails and screws too

7. Clean up
- Now you have a smooth finish! Be sure to wash off your tools and wipe down any dust off the wall once everything is dry so you have the best possible surface for paint.
CONTACT US
Call us Monday to Friday between 6 AM and 4 PM at (905) 761-5611
Email us anytime at info@csrbuilding.ca
Follow and share your work with us on Facebook, Instagram, and TikTok!
RESOURCES
https://www.thisoldhouse.com/walls/21016728/how-to-finish-drywall
https://www.thespruce.com/drywall-finishing-1398230
https://www.familyhandyman.com/project/tips-for-finishing-drywall/