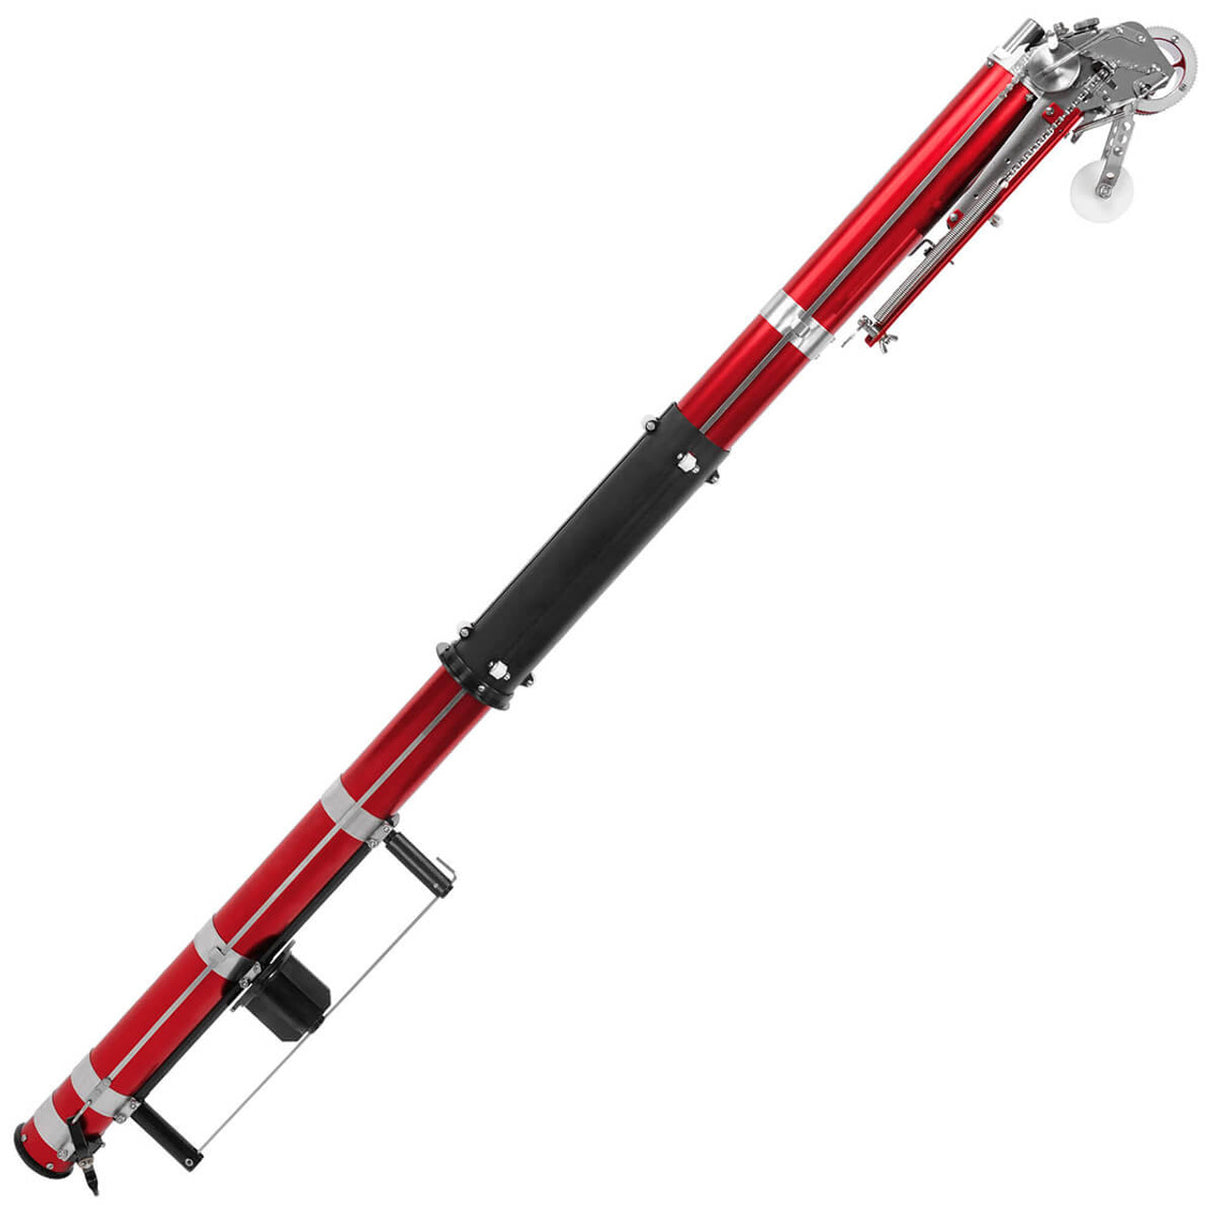
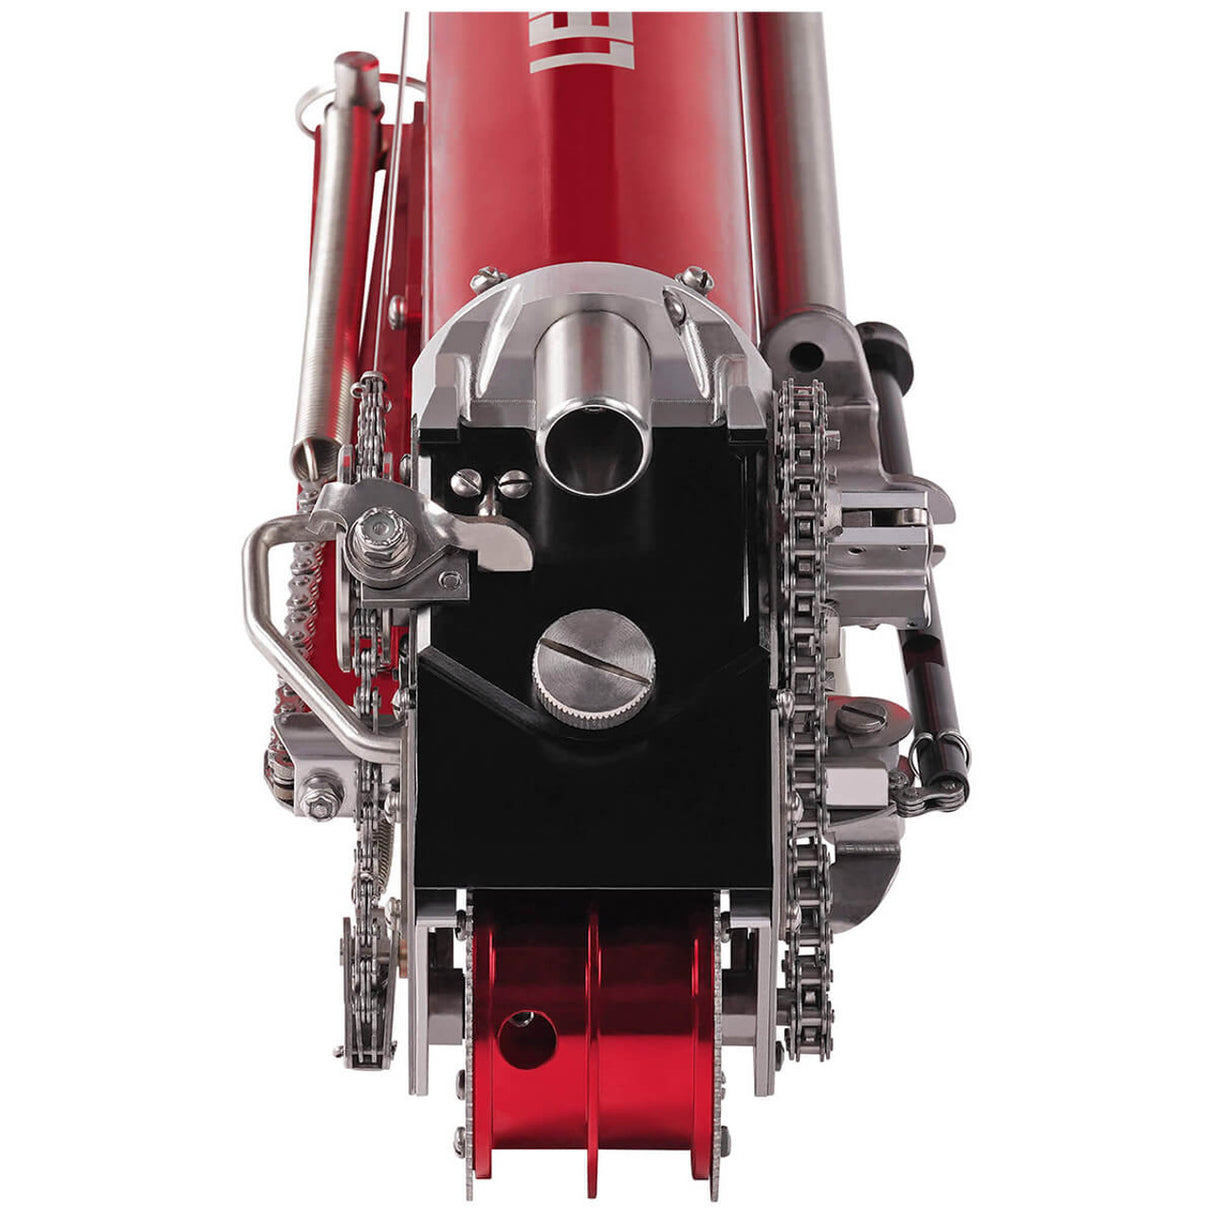
The LEVEL5 Automatic Drywall Taper is used to simultaneously apply the optimal amount of joint compound and tape to wall and ceiling joints. This automatic taper is a true workhorse in the industry.
Every component has been carefully designed to ensure the auto taper is lightweight while providing the highest durability, reliability, and corrosion resistance. The fit, finish and ultra-smooth operation of the LEVEL5 Automatic Taper are unparalleled at this value point.
- ULTRA FAST TAPING | Significantly increases drywall taping efficiency by applying the first bed of mud and tape in one pass.
- GROW YOUR BUSINESS | The LEVEL5 automatic taper enables you to increase your job throughput and profitability - without compromising the finish quality your customers expect.
- SMOOTH OPERATION | All components are precision machined using the highest quality aluminum, stainless steel and composite materials. The LEVEL5 automatic taper performs flawlessly.
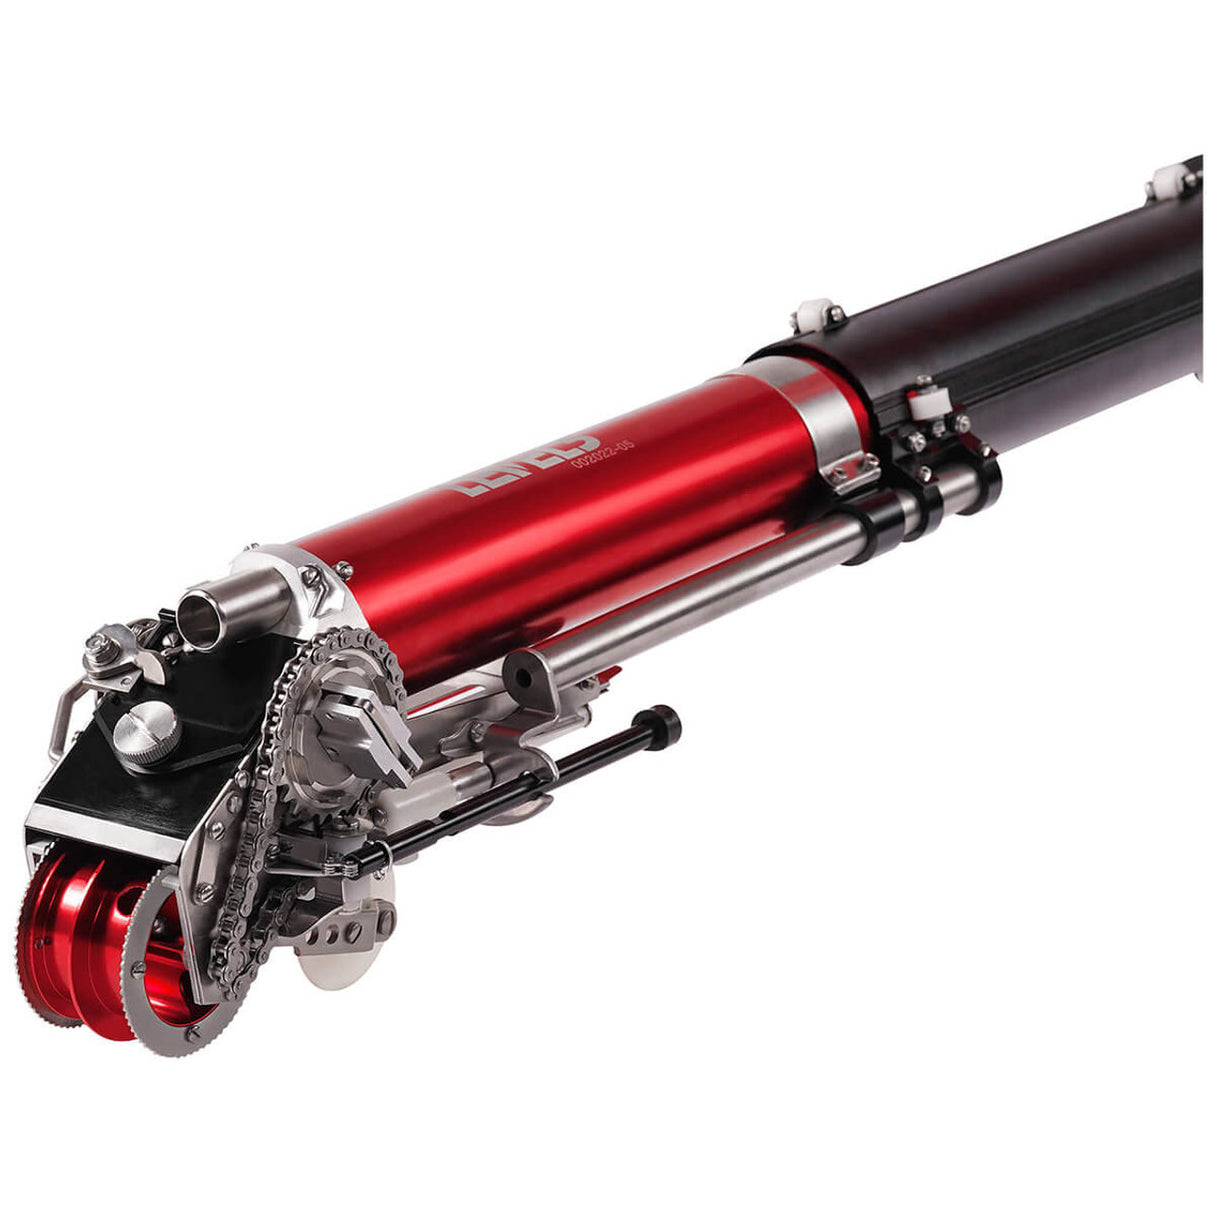
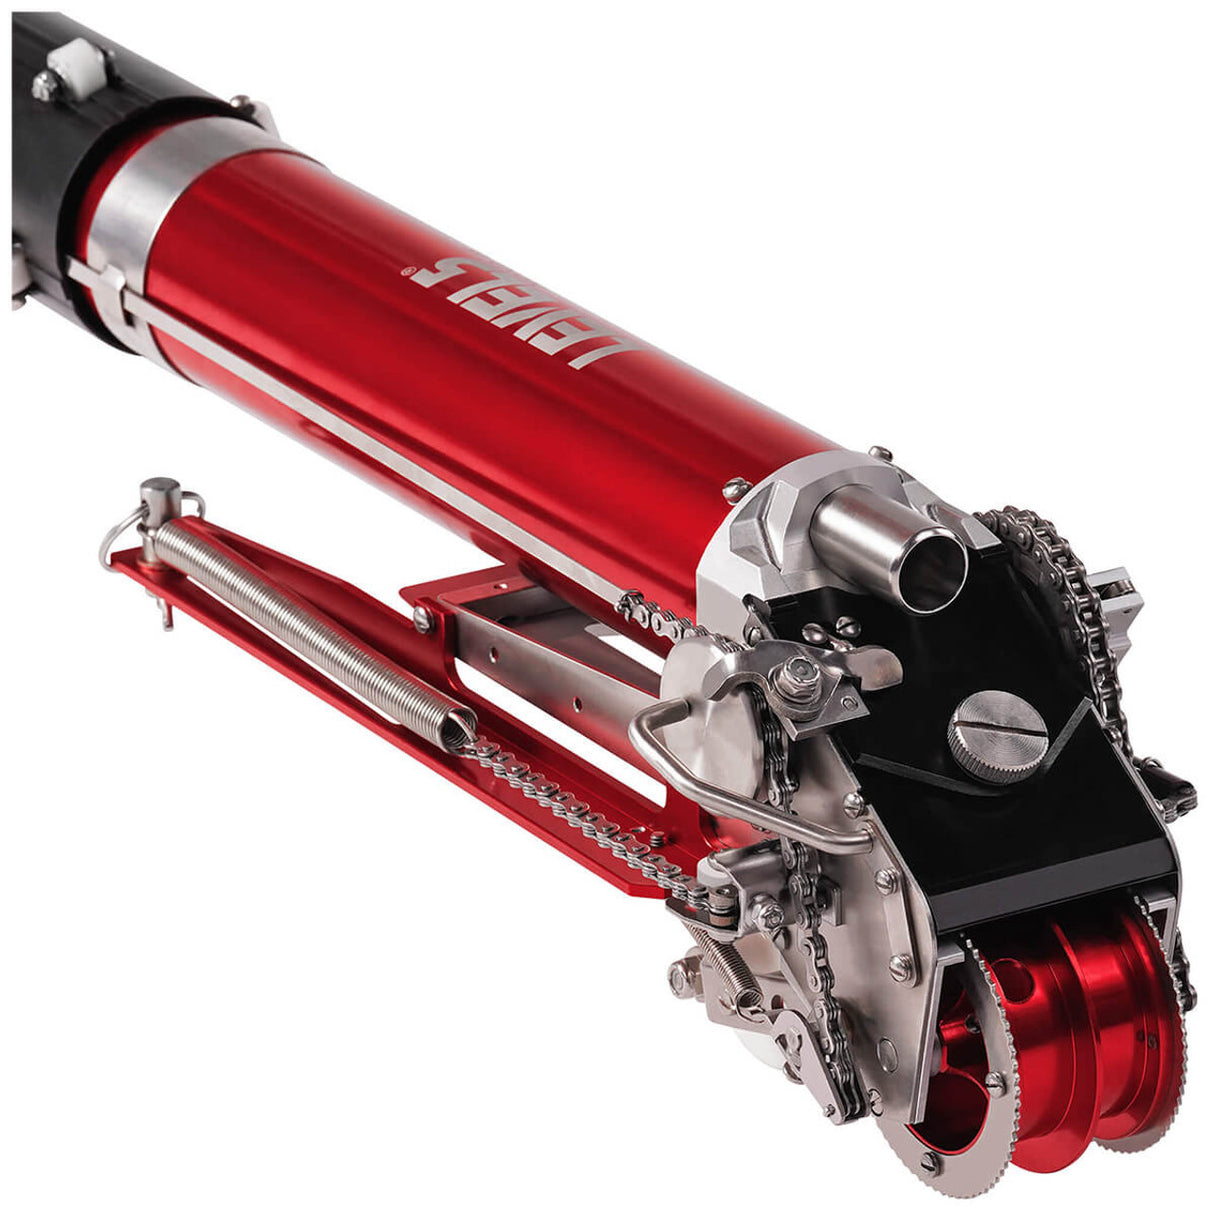
- EASY CLEANUP | New QUICK-CLEAN head features a simple thumb screw to remove the cover plate for easy access and cleaning.
- RELIABLE, LONG-TERM PERFORMANCE | LEVEL5 automatic drywall finishing tools have the highest reliability record in the industry. They have a hard-earned reputation as workhorse tools you can trust.
2ND GENERATION ENHANCEMENTS
- A new hollow drive wheel reduces weight and operates with less compound accumulation.
- All hardware mounting bands upgraded to stainless steel for a tighter grip and increased durability.
- New robotically-welded, one-piece stainless steel push rod assembly and precision machined one-piece stainless steel drive sprocket provide greater strength and long-term durability.
- A lighter-weight cutter spring provides easier tape cutting.
- Cutter rod guide is now precision machined and hard-coat anodized for smoother operation.
- Cutter change rod now hard-coat anodized for smoother operation.
- Cutter change rod also features a new design for easy removal.
- A new proprietary urethane rubber internal plunger cup provides smoother operation, 100% seal and long wear life.
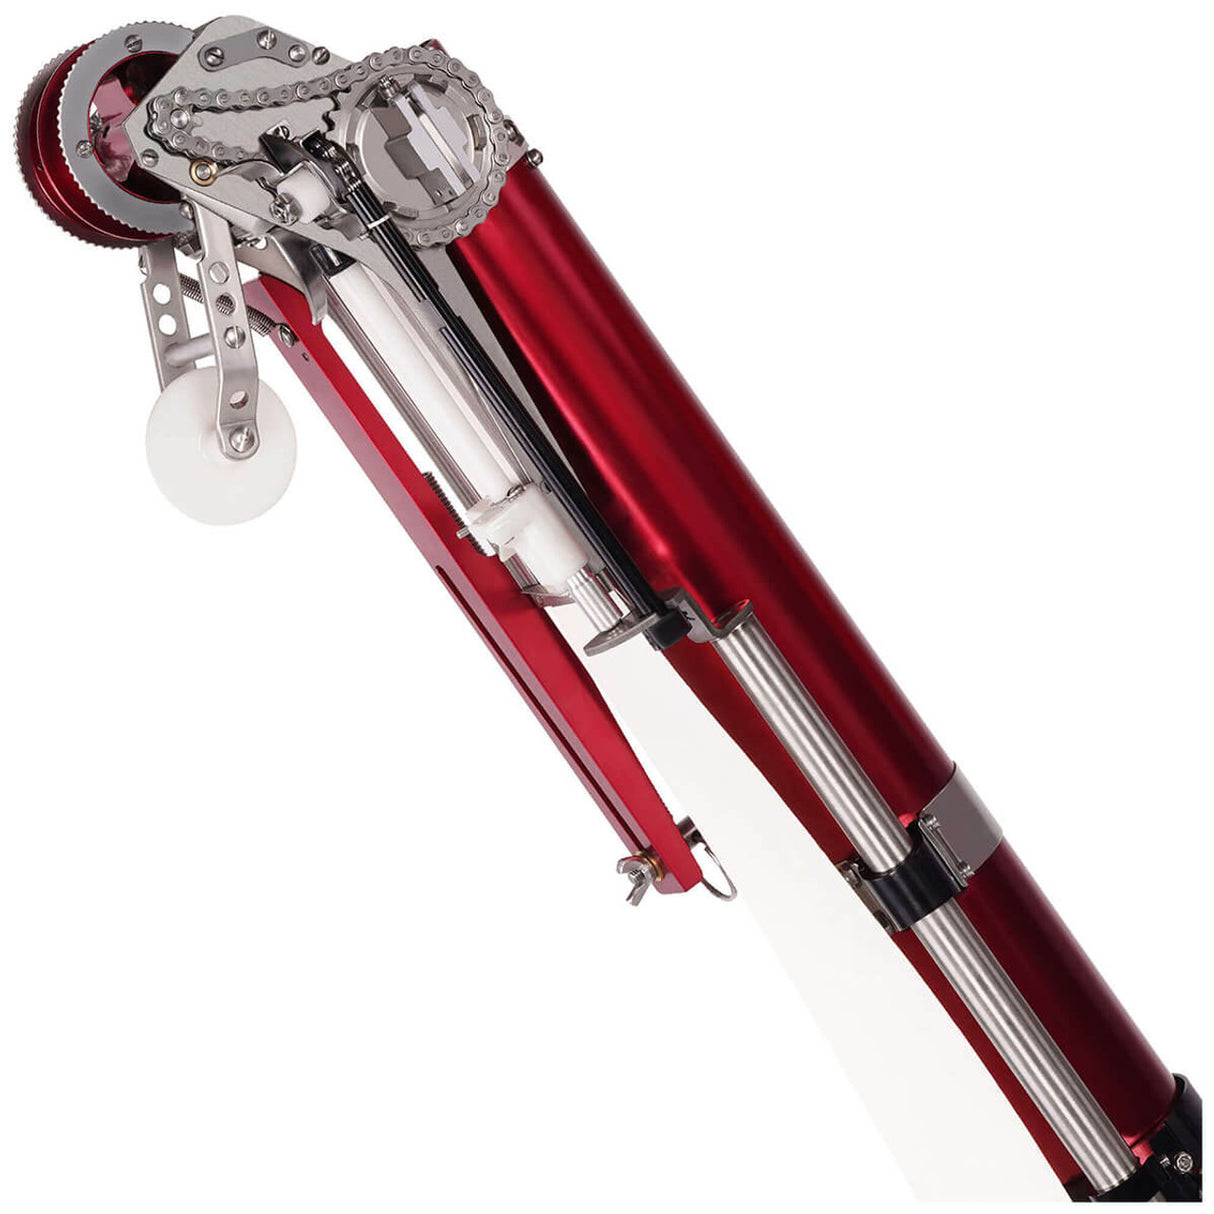
- The tape roll assembly has been upgraded to machined billet aluminum with hard-coat anodizing and the design has been updated for easier tape roll loading.
- An adjustable tensioner on tape spool ensures the tape roll can’t free wheel when its not under load.
- A heavier gauge tape roll keeper rod doesn’t bend under the weight of the tape roll.
- The creaser trigger and its mounting base have been upgraded to precision- machined billet aluminum with hard-coat anodizing.
EVERY LEVEL5 AUTOMATIC TAPER [2ND GEN] ALSO INCLUDES:
- (3) additional cutting blades
- (3) additional tape advancing needles
- (1) replacement creaser wheel spring
- (1) tape jam tool
- (2) garden hose nozzle adapters (for easy cleanup)
- (1) gooseneck cleaning brush
TIPS & TRICKS
- We recommend you use general purpose finishing compound or general purpose “lightweight” finishing compound. You can also use “machine mud” which is designed specifically for automatic finishing tools, but it can be more expensive and harder to source. DO NOT use any type of durabond or “hot muds”, as these fast setting compounds could harden inside your automatic taper - requiring you to break your taper down and manually clean every component.
- When you first start using the automatic taper, it is suggested you practice using it on scrap drywall or a practice board, so you can get a feel for:
- Getting the correct mud consistency. It should be thin enough so that the taper runs smoothly along the seam, but thick enough that the tape remains in place on the wall
- Setting the drive wheel brake. The drive wheel brake ensures the drive wheel doesn’t spin backwards when you pull the taper off the wall due to pressure from the cable - as this will create gaps in the mud that is applied behind the tape. You want the brake to be set just enough so that there is not any noticeable resistance and the taper moves smoothly along the seams.
- Setting the tape advancing (“gooser”) needle. The automatic taper is set up from the LEVEL5 factory to be used with paper tape. If you are using Fibafuse mesh tape, which is slightly thicker, you will need to back off the advancing needle so that the tape advances correctly when you activate the cutting mechanism.
- PRO TIP: Each time to start a new seam run, charge/load the head of the automatic taper with compound by doing a quick 5 to 6” spin of your drive wheel against the wall without advancing the tape; this will ensure that when the tape advances it is fully coated with compound.
- On flat seams, always use the automatic taper at a slight angle to the wall or ceiling so that only one side of the drive wheel is touching. If you run the taper flat against the wall, too much of the joint compound will squeeze out from behind the tape.
- PRO TIP: During a long flat seam run on a ceiling, rock the taper from one side of the drive wheel to the other side every 2 - 3 feet; this action will ensure the mud and tape stays in place until you’ve had a chance to bed the tape down with a trailing knife.
- On inside corner seams, keep your taper as close to 45 degrees as possible, so that both wheels are touching the two walls or the ceiling and the wall. This will make sure tape is centered correctly in the seam as you push it in place with the creaser wheel.
- Inside corners generally have more drag than flat seams. When taping these angles, give yourself a few extra inches of lead tape at the start of the run. This extra tape will compensate for any movement in the tape as you move across the seam.
- When you get to the end of a seam or a corner, cut the tape 3” to 4” before you finish. Then let the remaining tape roll over the drive wheel and into the corner. With a little practice, you will be able to cut to the perfect length every time.
- PRO TIP: If you feel that you have cut the tape a little short, gently pull up on the tape with your hand from partway down the wall. You should be able to center the tape a bit and close the gap.
- Always stop the automatic taper completely before activating the control sleeve to cut the tape. Otherwise the tape won’t cut properly at a right angle to the taper and could double cut even jam up your tape.
- Before you use your automatic taper, always oil up all moving parts liberally with 3-in-1 machine oil. DO NOT use the original WD-40, as it is caustic and will break down your gaskets and plunger. In fact, we don’t recommend you use any lubrication that is in a spray can, unless you know what the propellant is. Often it is benzyne, which is also very hard on gaskets and seals. We highly recommend common machine oil such as 3-in-ONE
- Once you’ve finished cleaning your taper, we suggest liberally coating all moving parts and the inside of the tube with 3-in-ONE oil again. It will displace the water and reduce any opportunity for corrosion.
- PRO TIP: You can make short work of cleaning your taper by getting a small electric pressure washer.
- When cleaning your automatic taper do not force the plunger towards the head by jamming a rod, stick or anything else from the bottom and pushing against it. This could cause your cable to become caught up at the head and potentially snap it.
- PRO TIP: Automatic tapers have several small wearable parts. To minimize any downtime on the jobsite, we recommend you purchase an in-field repair kit (#5-815) that includes most of parts that are often replaced - blades, needles, cable, springs, etc.

